What if you could access a tool that can help your organization grow sales, reward employees, connect with customers, and more? With Vouchers by Uber for Business, you can.
Vouchers allows a business to cover the cost of meals or rides with Uber through individual codes. Within minutes, companies can create vouchers and distribute a unique link by email or text. Employees, customers, and clients can redeem vouchers with just a few taps.
Interested in getting started? Follow this tutorial to successfully create and distribute vouchers.
How to access Vouchers
To access Vouchers, go to your Uber for Business dashboard. Check to see if your account is enrolled in monthly billing or daily billing by selecting Billing in the left menu and locating Billing Type. If you’re on one of these billing cycles and don’t already have the option to create a Vouchers campaign, email our Support team.
Next, if you’d like to activate a Vouchers campaign and invite other Vouchers administrators, follow these steps:
- Sign in to Uber for Business.
- Select Provide Vouchers in the left column and click on Continue.
- Choose the group(s) that will have access to create vouchers. You can also create a new group.
- Click on Activate. Users will receive an email either inviting them to join the company account or, if they’re already on the account, letting them know they can access the program.
- When you’re ready, activate the program by clicking on the toggle button.
Employees in the group can then manage vouchers for rides or Uber Eats in the Vouchers dashboard.

How to create vouchers
Follow these steps to connect with your customers or reward employees with vouchers:
- Sign in to Vouchers dashboard.
- Select Create new voucher.
- Select which type of voucher you want to create: for rides, for Uber Eats, or for all Uber products.
- Enter the voucher name (which recipients will be able to see).
- Specify the start and end dates, and click on Continue.
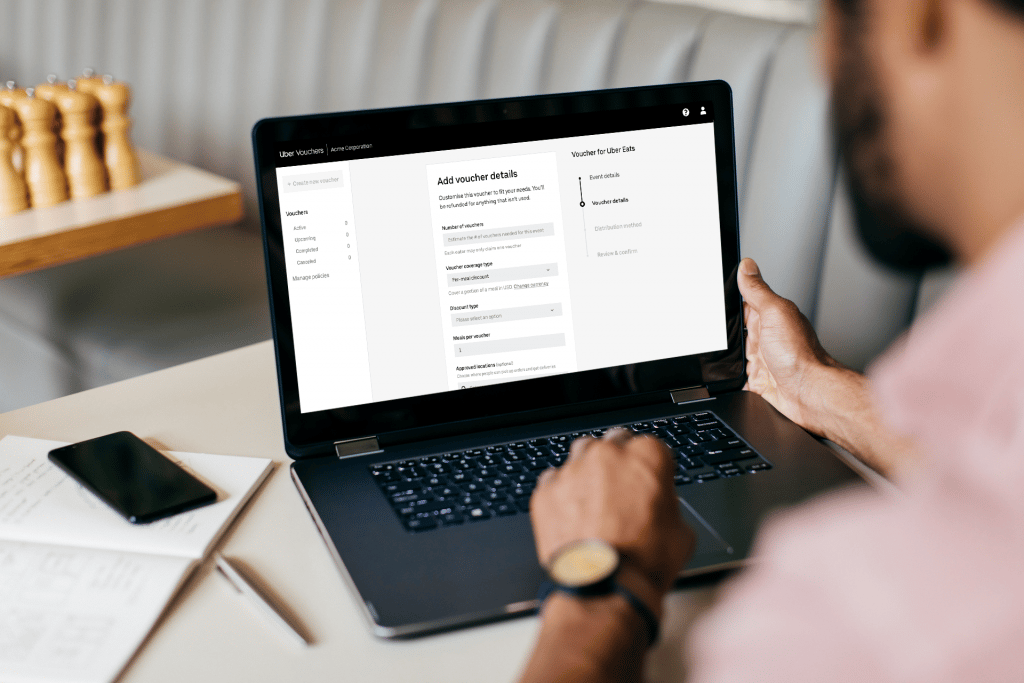
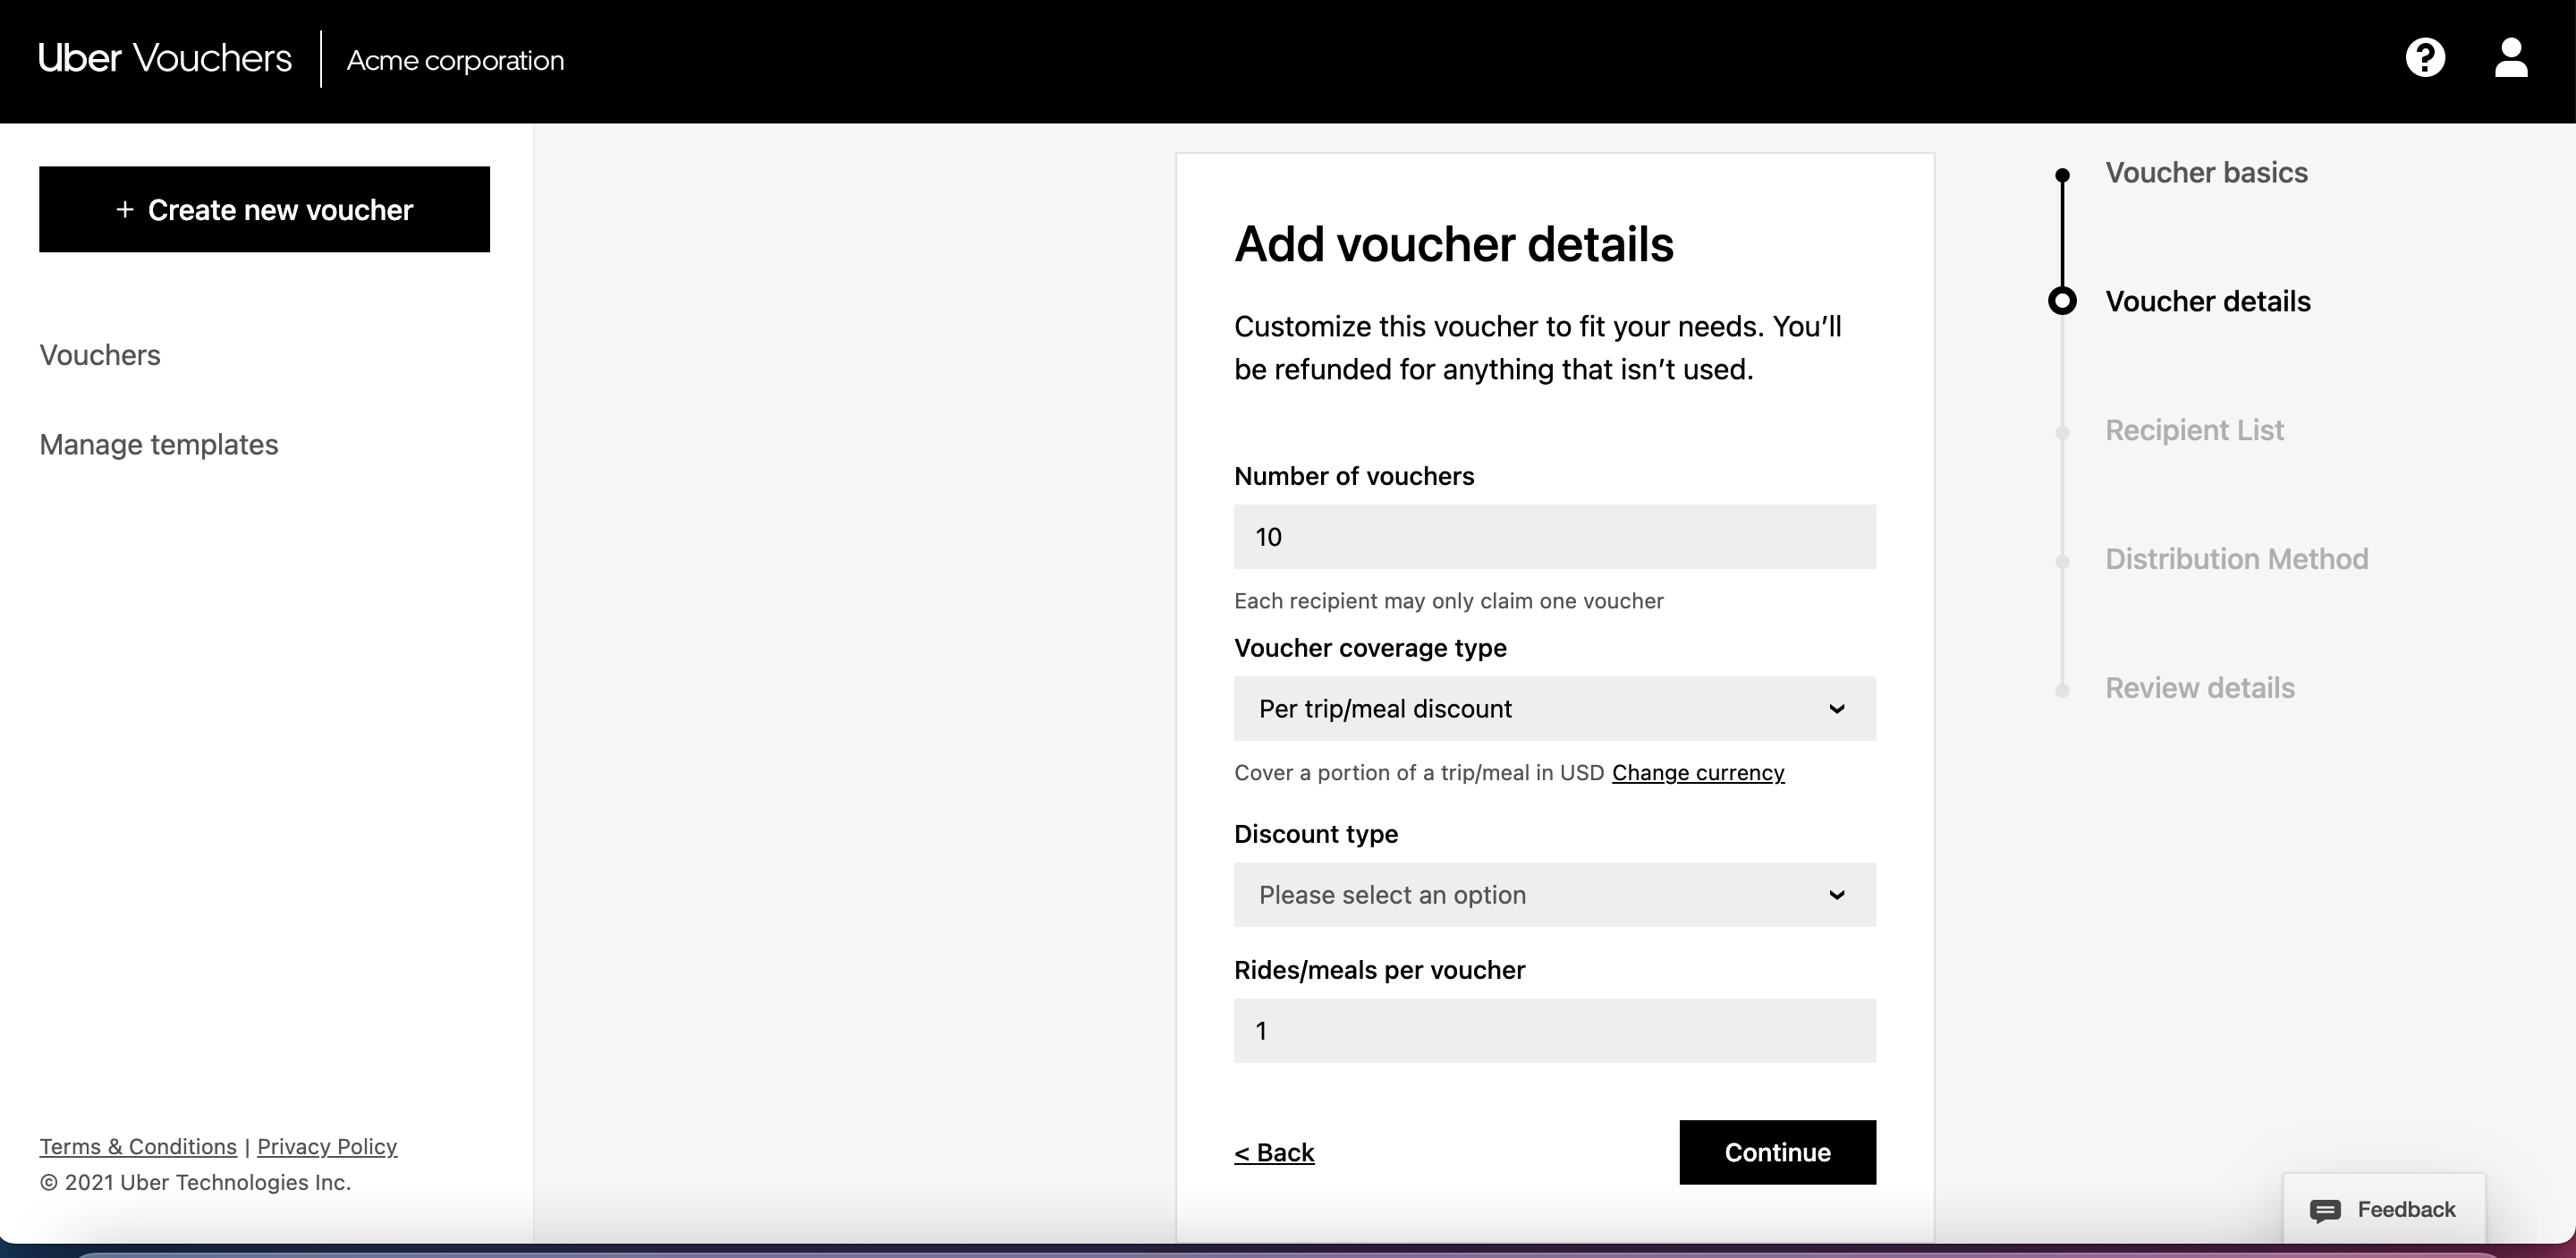
- Enter the voucher details, like number of vouchers, coverage type (total value or per-trip/meal discount), discount type (amount toward total or percentage off), and number of rides/meals per voucher, then click on Continue.
- If you want Uber to distribute the vouchers for you, enter the name and email or phone number of recipients. If you choose not to upload recipient information when creating the voucher campaign, it will be your responsibility to distribute the links to your guests.
- Choose between sending unique or general voucher links, and click on Continue.
- Review the voucher campaign, then click on Finalize campaign.
You can create voucher campaigns up to 6 months in advance. When setting the time frame, add a start and end date.
You can also create multiple voucher campaigns at once. If you distribute multiple vouchers to recipients, the Voucher that is set to expire first will be applied to the trip or order. Two vouchers cannot be applied to one order.
Distributing general vs. unique voucher links
When selecting a voucher link type, consider how you plan to distribute the voucher links and how many people will receive them. You can choose between 2 types of links:
General voucher link: A single link that any person can visit to claim a voucher
- Use general links when sending communications (email, social campaign, flier, etc.) to large groups
- Simply copy the link directly from the dashboard
- Limit the total number of vouchers when you create your program
Unique voucher link: A unique link per recipient that can only be claimed once
- Unique links work best when you’re distributing the vouchers to specific people
- Download a CSV file containing the individual links
- Unique vouchers provide the best visibility and control over usage
If you choose not to upload recipient information when creating the voucher campaign, it will be your responsibility to distribute the links to your guests.
Account admins can find details about each voucher claimed by downloading an activity report under Activity on the Uber for Business dashboard.

How to edit or cancel a Vouchers campaign
- Sign in to Vouchers dashboard.
- Go to Active (if the voucher program has already started) or Upcoming (if it hasn’t started) in the left column.
- Select the Vouchers program you want to edit or cancel.
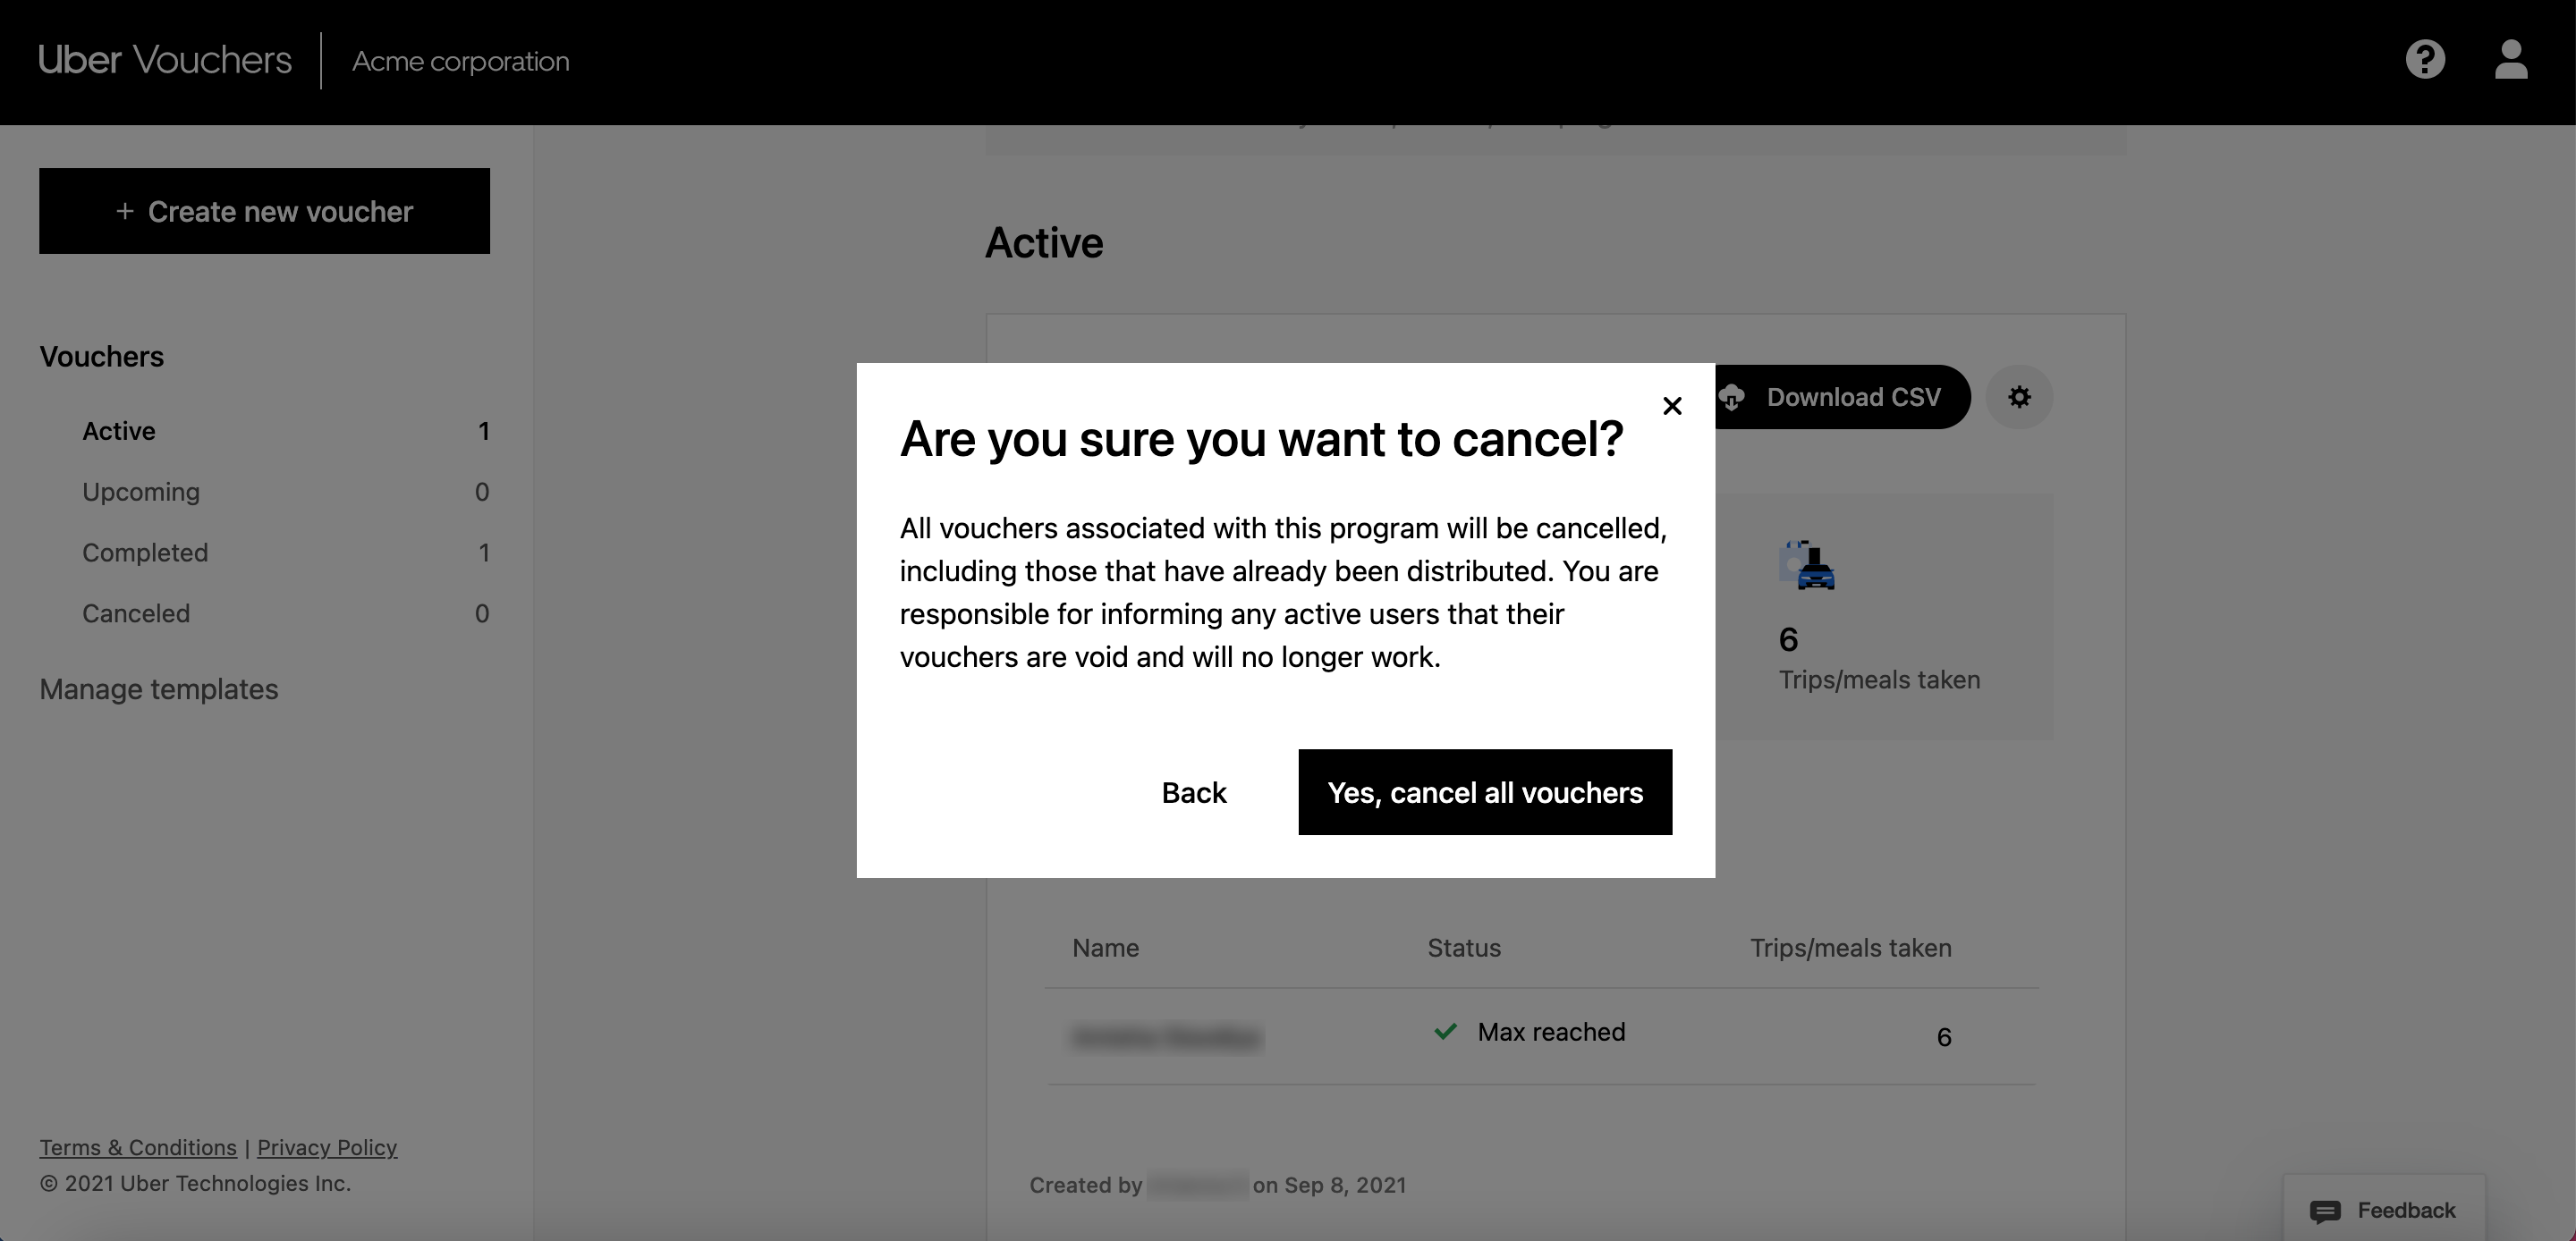
- Click on the pencil icon on the section you’d like to change (note: some sections can’t be edited after a campaign is live) or select Cancel event.
- Confirm your selection.
Note that your company is responsible for the total cost of any vouchers redeemed before the program is canceled.
Can I get a refund for unused vouchers if I prepaid?
If you prepaid for your campaign, or would like a refund on any unused vouchers before the campaign ends, cancel your active campaign. Any unused vouchers will automatically be refunded to your credit card after the campaign ends. You’ll be refunded within 10 business days.
Once the campaign is canceled, all vouchers on that campaign (including those that have already been distributed) will immediately be void. You’re responsible for informing customers who have received the vouchers that the vouchers are no longer valid; customers will not receive any such notice from Uber.
Grow with Uber for Business
Vouchers is just one product in our suite of Uber for Business solutions. Our global mobility, meals, and delivery platform helps diverse companies achieve more, enjoy more, and experience more at work.
Increased customer satisfaction, higher employee productivity, and stronger team culture are just some of the results businesses see with Uber for Business. Learn how Uber for Business can help your organization achieve its goals.
Posted by Uber for Business